Thursday, June 2, 2016

The Lumps of Lumpy Ridge Part Two.

Return of the Lumpening!
I try not to write too much about personal stuff on here.  I want this website to be focused on RMNP and my experience there.  It's been almost three months since I've written, and my life has changed alot though my love for the mountains still stands.
My wife and I bought a house finally, and with the generous help of our parents on both sides.  It is nice to have something that is ours.  I must say I actually enjoy mowing the lawn.
But this almost didn't happen, because a week before we were scheduled to settle, I got fired from my job of almost four years.
I'd never been fired before and it stings.  But in the end I can't say I am unhappy about it, as I hadn't been happy working there in a long time.  In fact, I'd been looking for a new job for over a year.  But this did put a halt on the home purchase, as I'd have to have verifiable income when we signed the papers.  And we already gave notice to our landlord, and he'd already found someone to move into our place.  For a few days it looked like we'd have no where to go.  If not for my mother in law, who knows what we'd have done.  But in the end it worked out.
On the job front, I found something that pays less and is mindless work.  Despite that, I feel happier there.  I'd applied to be an emergency dispatcher for the city of Longmont way back in January, and am happy to say that I've been hired, and will start there in mid June.
So these few months have brought alot of change.  I was more stressed with the job/home situation than I can ever remember being.  But it's worked out, and I am looking forward to the future in our new home and to be working for and serving the citizens of Longmont  and having a positive impact on peoples lives.
To return to the point- my foot injury has been feeling alot better.  I joined my friend Dan for a hike two weeks ago, and found that while it still wasn't one hundred percent, it no longer hurt to push off or land on my left foot.  As you can imagine, pain when pushing off or landing on one of my feet has complicated walking quite a bit!
I did a hike with the dogs the next week, and with some mountain bike rides sprinkled in between, decided that I was feeling good enough to look to the park this week.  But I needed something shorter and lower elevation.  Thus I turned my eyes to Lumpy Ridge.  I could summit five named peaks there, four of which are technical climbing destinations.
I started early on Memorial Day to beat the crowds.  I got up early enough to catch sunrise from the trail, and the sight of alpenglow on the high peaks.
A view that never ceases to inspire. 
Here are three of the points I would visit over the day.  You can see Fin City almost directly under the branches of the dead tree, Crescent Wall in the center, and Pacman Crag to the right.  I would be going for the easiest approach to the top of these, which is what would commonly be used as a down climb from the technical stuff.  Even so, these points went at 5.0, 3rd class, and 5.2 respectively.  The disclaimer is that I would suggest against trying these unless you are comfortable with those difficulty ratings.
Though these points were easier to find than those I visited on my last foray to Lumpy Ridge, a GPS may be useful to help locate them.
After some inspection, I decided I would save Pacman Crag, the hardest of these climbs, until the return trip and moved on to Crescent Wall.  I made my way though some forest, brush, and granite boulders until I could get onto the mellow ridge that runs west from the summit.  From here it was pretty easy movement to the top.
Crescent Wall, 8740 feet.
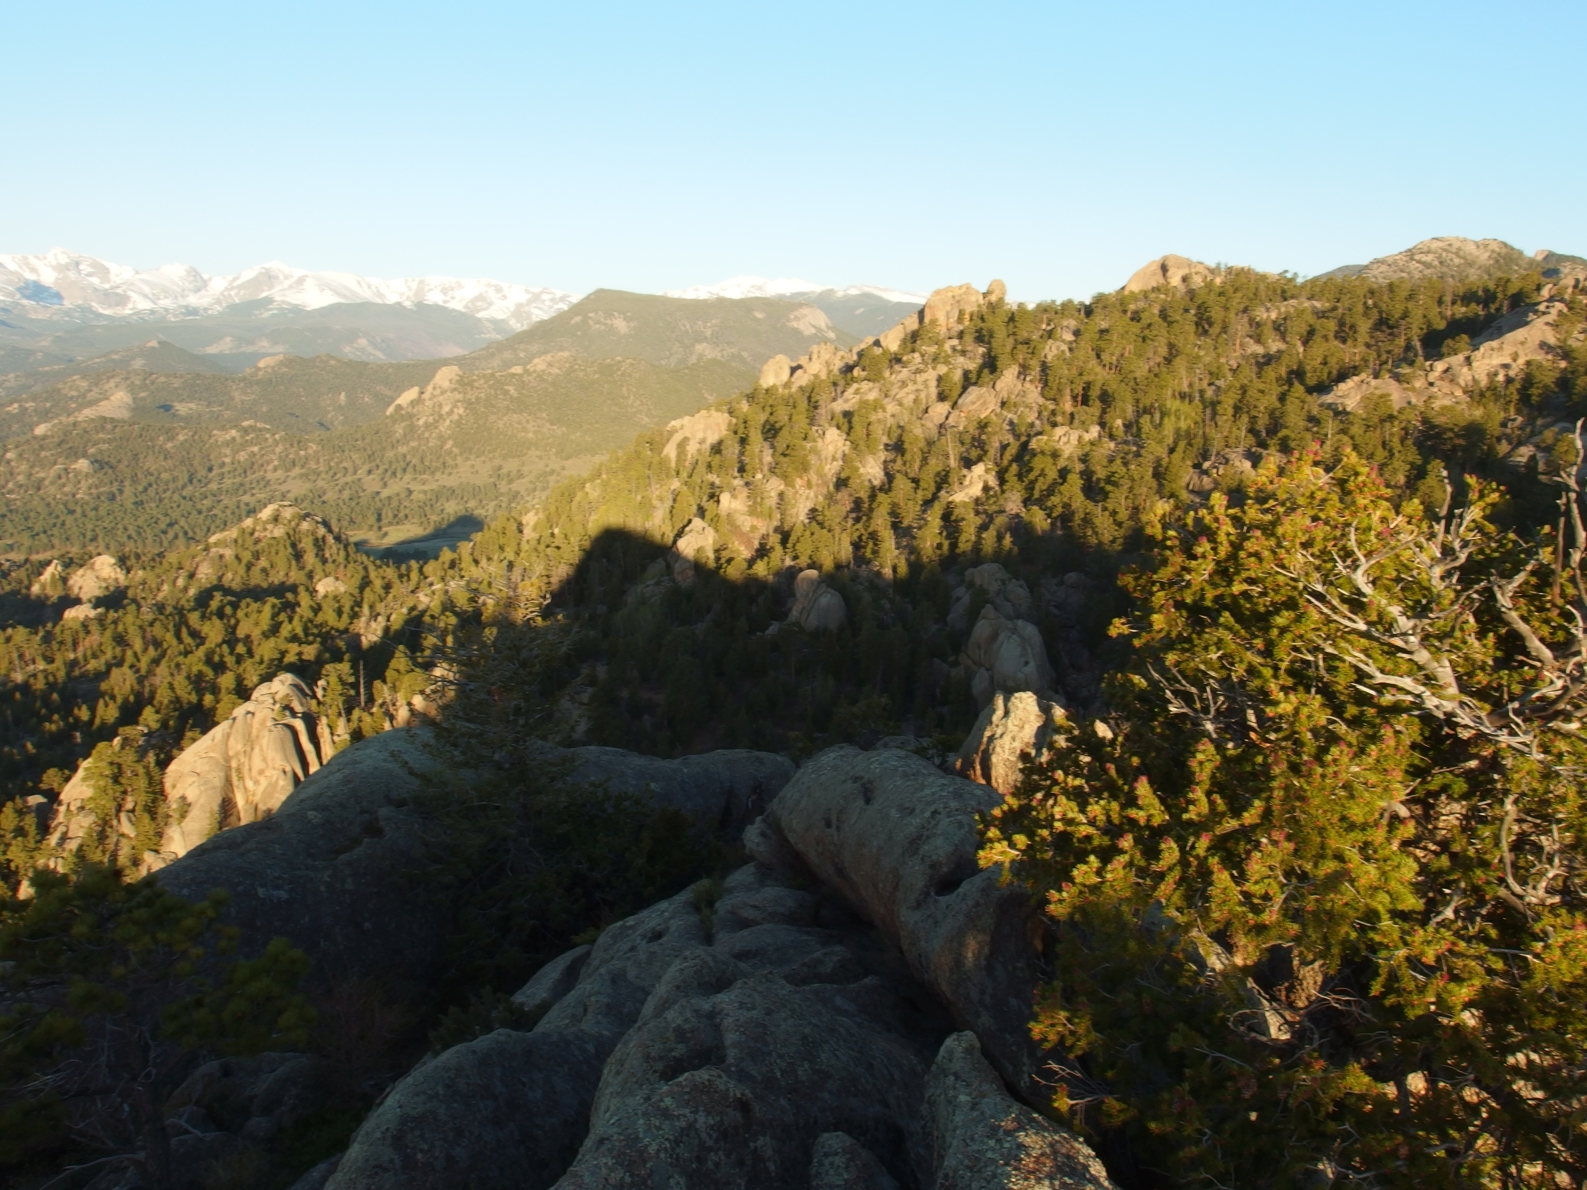
I was able to get a great early morning view of the Estes Park valley.  I love the long shadows in this photo.
And I could see my own shadow to the west, with Pacman Crag on the left.
From here, I looked to Fin City, the feature in the middle of this photo.  And aptly named, because the rock looks like Orca fins sticking up from the ground.  I exited Crescent Wall and make a short bushwhack over. 
I walked around the feature just to check it out.  I think the easiest route on the front side is 5.7.  The backside looked much more tame and was a fun little climb.  I did not use the tree someone had placed here!
Crescent Wall from Fin City.
Sitting on the summit of Fin City, 8780 feet.  While it was the summit, it was still pretty airy, with the potential to fall 30 feet or more down one of the cracks between the fins. 
As pictured here. 
From here I would head to East Gemstone, a peak that appears only one place that I can find.  It's not in Fosters book, or on LoJ, but Estes locals have named it, and it looked like it would be a fun climb.
It looks like you can just walk up it from the north side of Gem Lake, but a deep chasm stands in the way.  I'd tried it once before, but turned back due to snow and water on the granite.  I decided to just head directly to it and see if the gully pictured to the right would go.
The gully.  It worked.  Don't take the earlier exit that requires climbing, as there is a chasm that requires going around on the other side.  You'll find several along the way.  The last one either requires a fair amount of down climbing to get to a point lower on the slabs to continue, or a few fifth class moves to move to the summit.  I'd say these few moves were the hardest climbing I encountered over the day, but will refrain from giving a grade.
The view from the top is excellent, with Middle Gemstone and West Gemstone (aka Gem Peak) immediately visible.  And of course Gem Lake at the bottom.  I'd yet to see anyone beside two people in the parking lot, and could see there wasn't anyone at the lake.  That would change by the time I returned.
The summit of East Gemstone.
I decided to drop down to Gem Lake by heading north.  I ended up working down a gully and then moving on the slabs as I could. 
I stopped here to empty my shoes, and started down.  There was a dead tree right next to where I took this photo at.  A few steps down and I came face to face with this branch.
Someone had come this way, and a long time ago since the bark had grown over their initials before the tree died.  I love finding stuff like this out and about.
I could see the faint remains of someone else to the right of the first.
Once I hit the trail, it was over to continue on to Cow Creek.  I would visit Kellogg's Krag, a fourth class destination near the Rabbit Ears campsite.  I went to the campsite first and then headed west, steadily gaining altitude.  I stayed on the south side of the feature, but took the north side on return.  The north side is easier, and there is a faint trail if you can find it.
The view from the summit of Kellogg's Krag, 8685 feet.  I saw several hummingbirds on the way to the top.  Pretty cool animals.
Sheep Mountain.
Unfortunately, this is where I started to feel some distinct pain in my foot.  Of course I was about as far from the car as I could possibly get.  I'd just take my time to get back and deal with it.  I guess this might be how things are this year, but hopefully it will continue to feel better as time goes on.
I stopped at Cow Creek and took a few Ibuprofen and dunked my foot in the ice cold water of the creek.  I lasted about ten seconds before it was numb, but the freezing water felt good.
Uphill I went, and as I moved, things started to feel better and better.  I've noticed that when I am on a more level surface things feel pretty fine, but it's when I am on something more uneven, like bushwhacking or rock, it can hurt.  I saw a few people on the way back to Gem Lake, and then a whole, whole bunch of people upon arrival at the lake. 
East Gemstone over Gem Lake.  The true summit it to the right here. 
As I moved down, I was able to get a great view of the main obstacle to East Gemstone being an easy walk up.  That's one huge crack!
Clouds started to build and I was happy to have gotten an early start.
Fin City from the trail.  It reminds me somewhat of the rock I'd seen on The Cleaver, though on a much larger scale.
Crescent Wall.
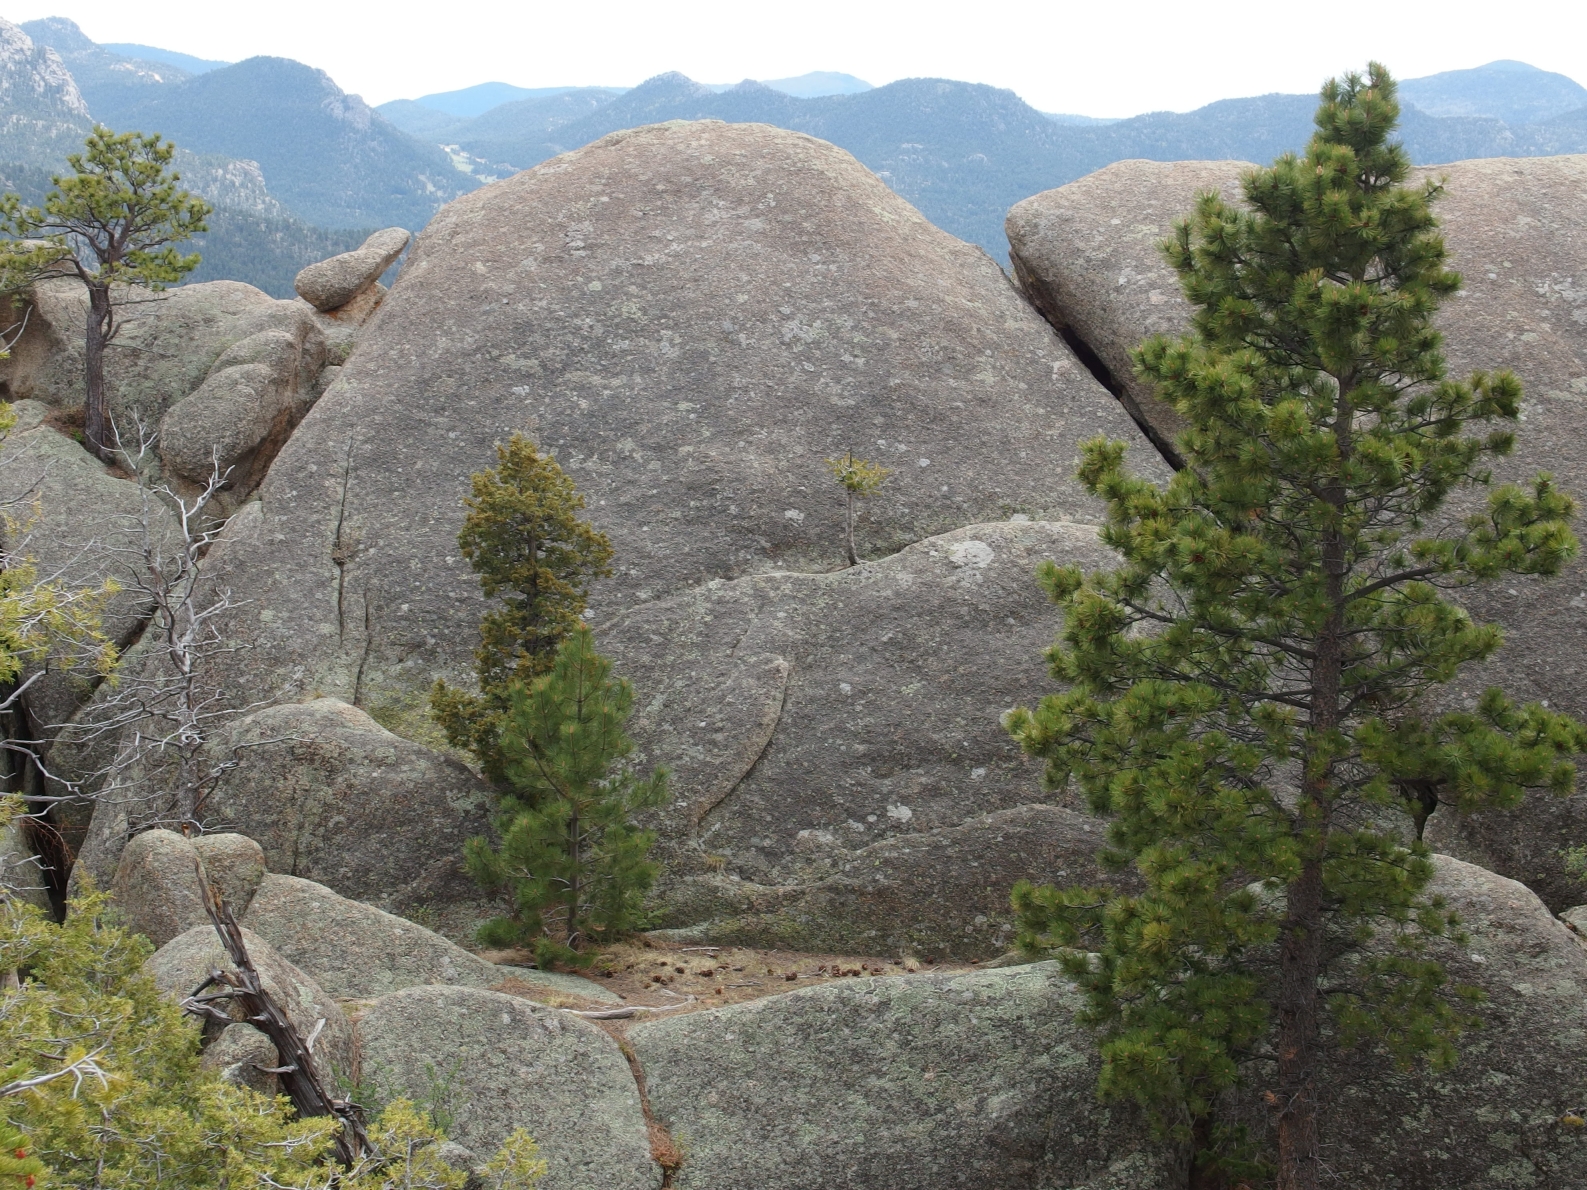
It looks almost like dripped wax or Elephant skin.
Pacman Crag is pretty close to the trail, but isn't the most prominent thing there.  It is also much more difficult to ascend than the high point right behind it. 
From Pacman Crag.
The summit of Pacman Crag.
Here are my poles, extended to approximately 40 inches to get an idea of the scale.
This looked like the easiest route to the top, and goes at 5.2.  I took the crack up to a crimp on the left below the prominent rail.  From here, I could reach the rail, got up onto it, and moved right to the large angling crack on the right.  There wasn't much for handholds, but friction worked well enough.  I was pretty impressed that my new trail runners didn't slip once during the day.  Good to know.
I down climbed the same way I went up, and got back to the trail.  Now it was simply motor back to the trailhead.  I passed a bunch of people on the way down, some still going up despite the imminent look of the weather.  Of course it started to rain right as I got back to the car!
This was a shorter but fun day, particularly good for those of you who enjoy scrambling and feel comfortable moving in fifth class terrain.  The destinations east of the Gem Lake trail are all relatively accessible, and can easily been seen from the trail.  Kellogg's Krag is a bit more involved, but if you can find that thin trail to the north of it, it's not too bad.  Lumpy Ridge is a fun place to spend some time, easy to get to, and offers great views in all directions.
The Lumps of Lumpy Ridge Part Two:
Pacman Crag, 8500 feet: 1 mile, 648 foot gain.  5.2.  Moderate.
Crescent Wall, 8740 feet: 1.3 miles, 888 foot gain.  Third class.  Moderate.
Fin City, 8780 feet: 1.5 miles,  928 foot gain.  5.0.  Moderate.
East Gemstone, 9034 feet: 1.7 miles, 1182 foot gain.  Fifth class.  Moderate+.*
Kellogg's Krag, 8685 feet: 4.8 miles, 833 foot gain**.  Fourth class.  Moderate+.
As a whole, this hike covered approximately 9.8 miles with 3000 feet of elevation gain.  I'd call it moderate plus in difficulty, but it does include sections of fifth class which requires some special skill.
*= Easier third class approach from the north starting at Gem Lake.
**= You go over Lumpy Ridge and back, so there is more gain.  This could also be done from Cow Creek/McGraw Ranch for a shorter approach and less elevation gain.

Sunday, March 6, 2016

The Lumps of Lumpy Ridge Part One.

When life gives you lumps, make lumpenade?
Two weeks ago, I spent some time hiking and climbing at Lumpy Ridge.  This area of RMNP is one of the most immediately visible when dropping into Estes Park from highway 36, and contains what is one of the most recognizable and iconic rock formations in the area, the famed Twin Owls.  The Diamond of Longs Peak might be more impressive overall, but the Twin Owls are, in my opinion, more visible.
Before I even start, please note that most of the features discussed here are subject to a annual raptor closure, generally lasting from March 1st- sometime in early July.  The NPS website will have information about exactly where you can't go, and when you can't go there.  Please respect these closures.
The second thing I will mention is something I have never said before.  Having a GPS along with you would be a very good idea.  There are so many lumps and rock formations up here, and the things you'll be going for aren't always the most prominent.  Which is to say you may think that higher, more spectacular looking pinnacle is where you want to go, but in looking at that, you already walked by the thing you wanted to go for.  I will give GPS points for everything discussed on a map at the end.  Simply print it out and take it with you, and you'll have all the information you'll need.
Getting there: From Estes Park, take highway 34 towards RMNP.  Turn right on MacGregor Ave. after you've passed The Stanley.  This will take a sharp right and become Devils Gulch Road.  Lumpy Ridge Road is well signed, and on the left shortly after.  Take this to the parking area.
For here, you have a few options.  I'd suggest taking the trail west, toward the Black Canyon Trail, and the climbing destinations.  In short order, you'll reach an intersection, prompting you to turn right and take it to head toward the Twin Owls.  Take this climbers trail.  I stayed on this for quite awhile- almost the entire way to the intersection with the Gem Lake trail.
Basically, I wanted to be to the south east of my first objective of the day, the 8,540 foot Triangle Rock. 
Early morning, climbers trail.
I made my way up to Triangle Rock, using GPS to confirm I was in the correct place.  Interestingly enough, the GPS point on LoJ was (provided I was reading things correctly) slightly east and on flat ground of the formation I IDed as Triangle Rock.  I found a way up some slabby stuff on the south east side of the feature, and got a great view of the Twin Owls from the top.
Twin Owls.
Near the top of Triangle Rock.
After getting back to the ground, I started gaining elevation and moving west.  I knew the easiest ascent up Twin Owls was from the back, or the side you can't see from Estes.  The feature finally came into view, and I was rapt.  It looked like it would go!
I cut toward it, and found myself in some snow leading up to the large cracks on the backside.  Unfortunately, as I got closer things looked worse and worse for soloing this feature.  Before I left, I told Katie there was a big difference between soloing 20 feet of juggy 5.4 and 20 feet of slab of the same grade.
My shoes got wet in the snow, and my confidence in their ability to grip diminished.  If I had one of the following: climbing shoes, a partner, or a rope for descent, I might have just gone for it... but I had none of those.  So I'll have to go back another day.  It really is very close to the TH and not difficult to get to. 
Until we meet again, and I climb you.
I started heading west, toward the next most prominent outcropping.  Along the way, I stopped to look at my GPS.  It was then that I discovered I'd already gone too far north and west, and would now have to backtrack to visit Rock One.  From above, it was easy to pick out the point that I'd walked right by, and equally easy to see why I walked right by it.  
Rock Two from Rock One. 
Rock One and the view into the Estes Park valley.
I was able to reach my former high point with a few more minutes of effort.  I made my way to Rock Two.  The information I had said the easiest route up was 5.2.  I'd already decided the 5.0 Twin Owls was a no go. 
The climbing here was a bit more friendly despite the tougher grade.  
A nice view from Rock Two.  The cairn as pictured does not lie at the true high point.
A good view forward to Rock Three and Rock Four, Batman Rock (left background), and the Lumpy Ridge Highpoint, the domed and treed feature left of center in the background. 
Rock Three.
Rock Four, and getting closer to Batman Rock.
I made my way west, trying to neither gain nor loose elevation as I worked through rock and trees.  I could see Batman Rock on my left, and passed by the high point before doubling back to try to find a way.  This got a rating of 4th class on LoJ, and I found that difficulty to be somewhat lower down.  But you'll definitely find a few climbing moves before making some more solid textured granite slabs.   
Batman Rock.  
Looking back from whence I came.
Looking forward to Left Book and The Citadel.
The descent through the fourth class featured a short jump down over a crack with some exposure.  Then I was back in the trees.  While I wasn't on a trail for the vast majority of this day, the bushwhacking wasn't really too bad at all, with the forest feeling rather open.
The summit of Left Book, which was a fairly easy second class walk up.  I'd have to prepare myself though, as the next two destinations would bring a punch of difficulty. 
The Citadel, pictured dead center, was up next and listed at fourth class.  Lying directly downhill from it was the distinct shape of The Pear, a 5.0.
Since approaching these features from the north side seemed to be working well, I continued with that general philosophy while moving towards this feature.  This is the one place where I felt this was a mistake.  I ended up wallowing in some deep snow, basically getting stuck without being able to make progress, and then decided to exit onto some slabby moss covered rock.  Fortunately, everything stayed in place for this.  
Nearing the summit, which is impressively guarded by sheer faces on all sides.  I took a different way up and down, both I'd say 4th+ to low 5th class.
Summit of The Citadel.  This was a fun one!
Now, I mentioned that I felt approaching this feature from the north was a bad idea.  I'd suggest taking the long, slabby ridge up from the east.  You can see it quite well two photos above.  You might have to loose a little bit of elevation to get to a good place to get onto the ridge, but I feel this will be the best way to go.
I headed down from the summit, cutting east and south as I could.  I looked at my GPS to find I was almost directly east of The Pear, and started to head west. 
Here you can see The Pear almost all the way to the right, about midframe vertically.  While slabby on the south facing side, you can see the north side is flat and looks steep- exactly what I was looking for.
I got up into this north side saddle, and found a fun and easy juggy route to the top.
This is what the start of it looked like, but some of it is off left.  You can't see the huge drop to the right, but note the fully mature tree growing there, and how the top of it is almost level with me.  It's a long way down.
Batman Rock from the summit of The Pear.
I carefully down climbed the same route I'd taken up, and then started down in earnest.  I still wanted to visit Checkerboard Rock, but thought the easiest way to get there would be to head all the way back down to the Black Canyon trail, and take the climbers trail up from there. 
I was able to get a good view of Lumpy Ridge from below.
I hit the climbers trail to Batman/Checkerboard and started up.  Again, I had some problems determining what was what, and scrambled up to the top of an impressive looking rock below Batman.  According to my GPS, I was too far north of the LoJ point, but online research shows this may have been it?  Some of the routes I could find photos of look like they climbed this piece of rock.  So I headed down until I was at the GPS point, which was on a small dome of granite to the left of the trail.  The same online source says Checkerboard Rock is left of the trail as you head up.  So I'll call that it.  
Checkerboard Rock, a short scramble up.  This was also at the correct altitude.
This illustrates the value of using a GPS up here, I'd say.  Even after a full day of scrambling and route finding up here, I still walked right past the thing I was looking for.
I headed back down the climbers trail to join the main trail back to the parking area.  In the early morning, I was the first person there.  Now, there were 8-10 other cars, and a few people in the parking lot.
Ten new destinations in a day- not bad.  This day gave me the lead on LoJ (whatever that might be worth), and I have now climbed 177/204 peaks listed on that website, more than anyone else.  Of course, that doesn't include the Estes locals who don't use LoJ like Pomranka, Dale, Disney, and Foster.
If you like scrambling and feel comfortable moving in up to easy fifth class, this would be a good day to take on.  An added bonus is that you can visit an area that is quite busy, and likely not see much of anyone the whole day.  At least that's a plus in my mind.  Just remember your GPS!
GPS and altitude information courtesy of Listsofjohn.com.
The Lumps of Lumpy Ridge, Part One:
I've included all the lumps on the map above, with GPS coordinates.  Please view that for elevation and technical difficulty.  The total distance wasn't great, I'd estimate only a few miles.  But of course there is lots of up and down.  I'd suggest this day to be a moderate+ hike, mostly due to the technical difficulties.